


Manual installation
This installation method is recommended only for experienced users. To install ModPlus, use the online installer if you have internet access, or the offline installer if you do not have internet access.
Manual installation allows the user to select the required set of plugins himself and build a menu.
Manual installation and configuration are performed in several steps:
1. Download the ModPlus core archive. Archive contains the latest version of the Configurator, auto-updates module and working libraries.
2. Unpack the archive to any location on your computer.
It is important that you have full write access to the selected location, so it's best to avoid system folders such as C:\Program Files etc. It is best to use a simple and short path. For example, C:\ModPlus.
It is also desirable to avoid Cyrillic in the full path to the plugin
3. Go to the folder with the unpacked software and run the configurator (file mpConfig.exe). When the Configurator starts, all the folders required for the software will be created, as well as entries in the registry. At the first start, in the absence of a configuration file, you will be prompted to download the configuration file from the server. If you have not previously uploaded the configuration file to the server, simply click No.
4. In the Configurator window, the Configuration tab displays a list of available plugins and supported Autodesk products. The List of plugins is displayed for the specified product and the specified version of the product, which you can change in the drop-down lists at the top of the plugins list.
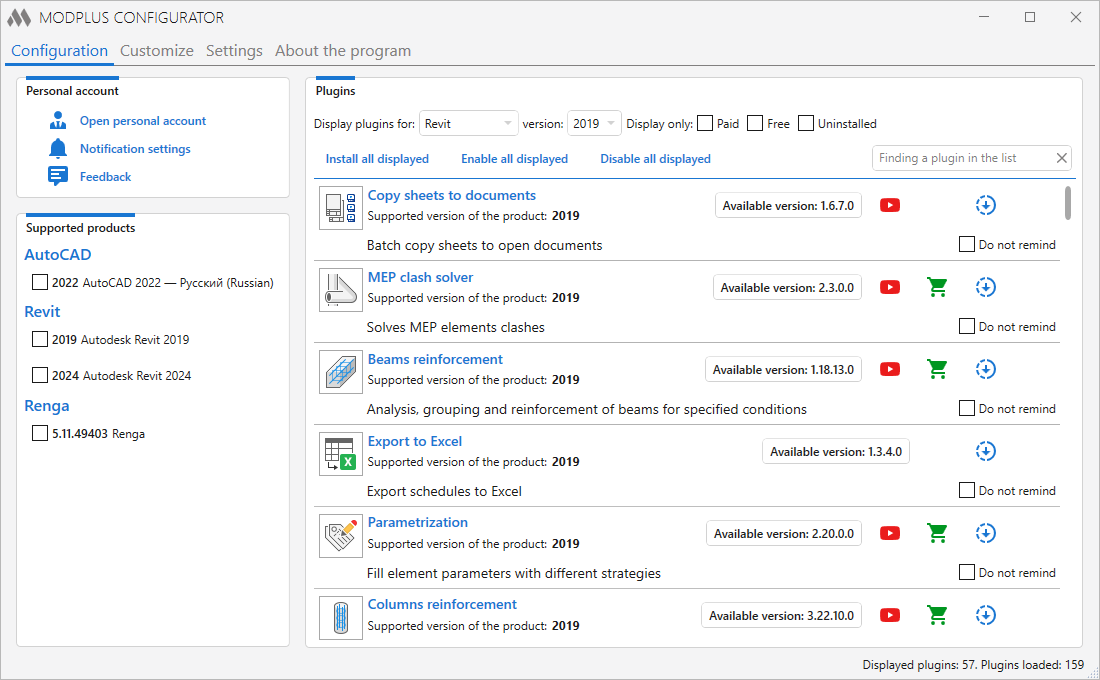
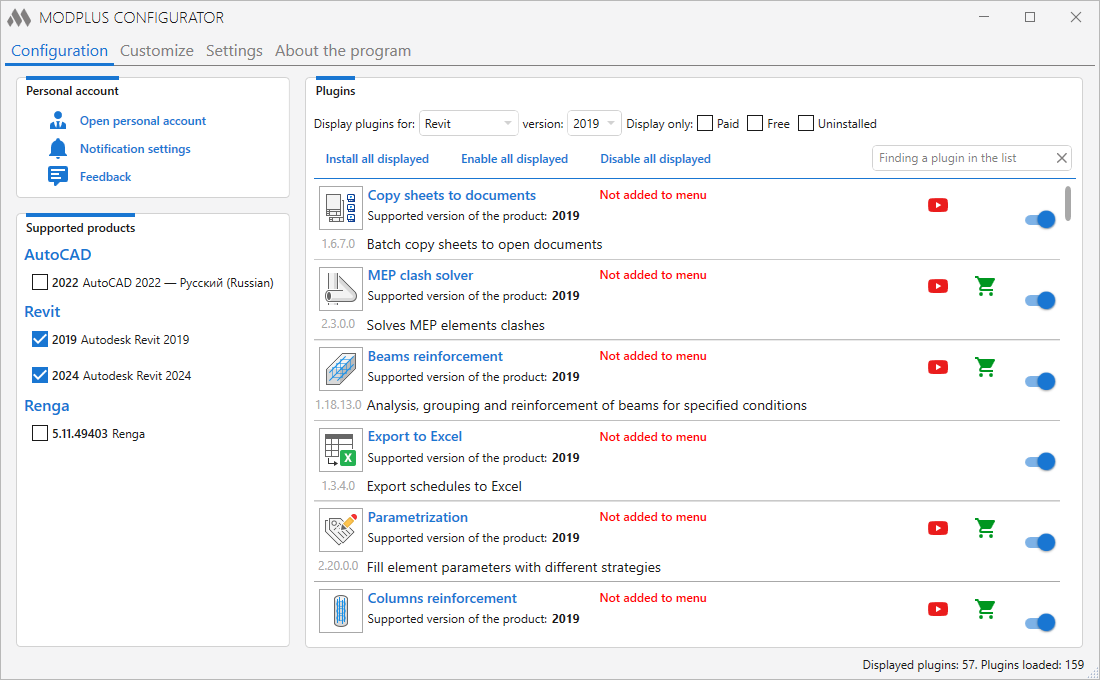
You need to set the required plugins by clicking the special button in the plugins list, and then connect the plugin to the ModPlus by clicking on the radio button in the Options field.
Also you can install and enable all plugins for the specified product and the specified version of the product by clicking on the Install all displayed button at the top of the plugin list.
After you have installed and enabled the plugins you need, you need to connect the ModPlus to the product (s) of Autodesk. To do this, in the left part of the window, in the list of products, simply check the appropriate product version.
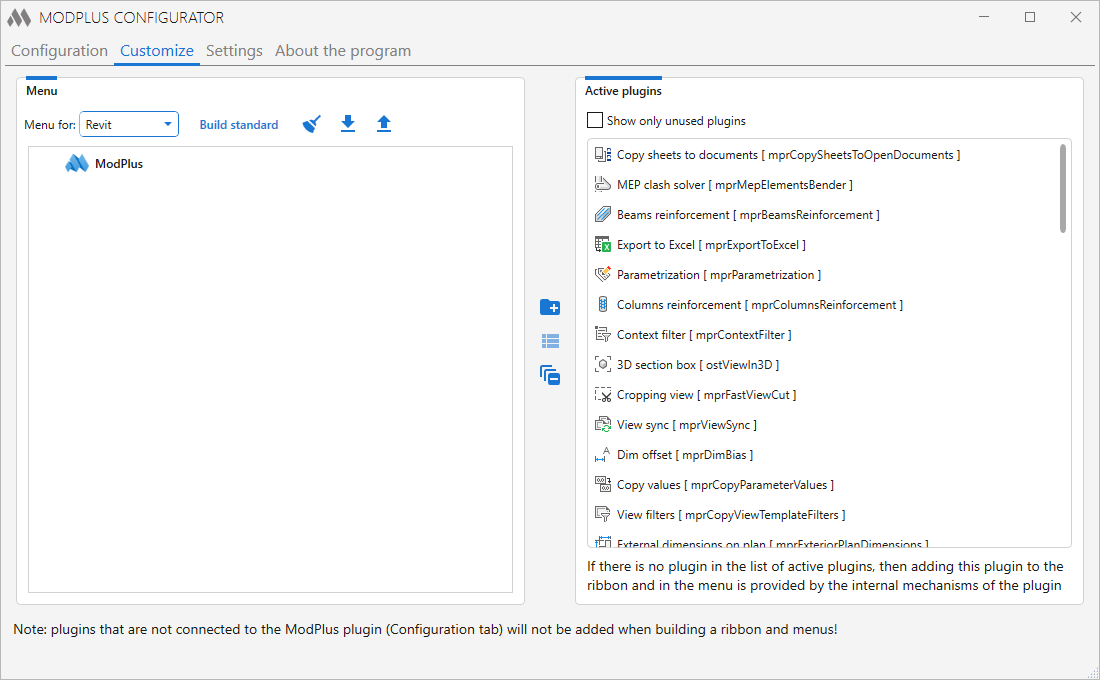
5. Now go to the Customize tab. Here you need to build a menu. In the left field, the result is displayed, and in the right list of available plugins (i.e. those that have not yet been added to the menu). Also, you can build a standard menu by clicking the Build standard button.
Important! If you do not enable the plugin on the Configuration tab, this plugin will not be added to the menu when you start AutoCAD/Revit/Renga
In this case, the manual installation of the ModPlus is completed