Icon
Related news and articles
Using
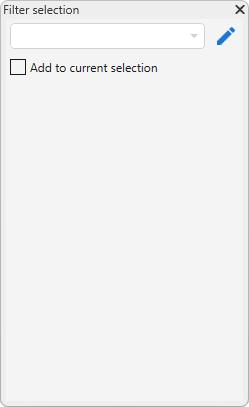
When the plugin starts, a window opens with a list of configurations defined in the plugin settings window  . For permanent access to the filters, the window can be switched to palette mode using the Palette Mode button.
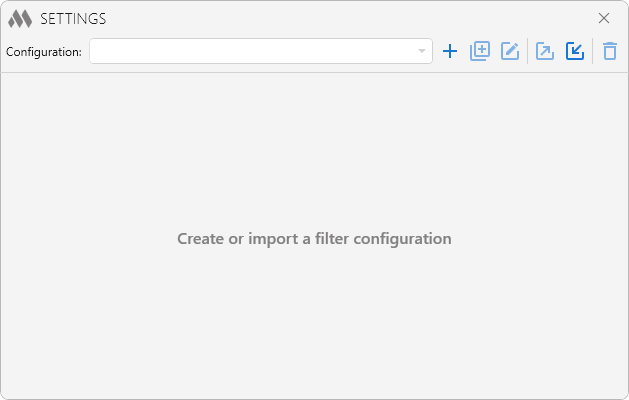
To get started, you need to create a configuration  or import a configuration from an XML file
  . At the top of the window there is a drop-down list of configurations. To the right of it are configuration management buttons that allow you to duplicate
  , rename
  , export
  and delete
  the current configuration.
Using the Activate the configuration if the type of the active view:... option, you can select the view type that will activate this configuration in the plugin floating panel when you switch to a view of that type. If Not dependent on the type of view is selected, the configuration will be active on all views except those for which other configurations with a specific view type have been defined.
Next, you need to add one or more element filters using the button. For each filter, you can specify a name and a selection scope: on the active view or in the entire document.
Filters can be reordered in the list by dragging them with the left mouse button, duplicated  and deleted
  . The
. The  option allows you to set the color of the filter buttons to visually distinguish them in the plugin window.
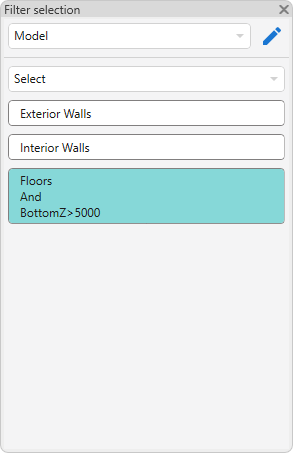
For example, the "Model" configuration does not depend on the type of the active view and contains three filters: the "Exterior Walls" filter, which selects elements of the "Walls" category whose "Function" type parameter is equal to "Exterior"; the "Interior Walls" filter, which selects elements of the "Walls" category whose "Function" type parameter is equal to "Interior"; and an unnamed filter, which selects elements of the "Floors" category whose bottom elevation is greater than 5000:
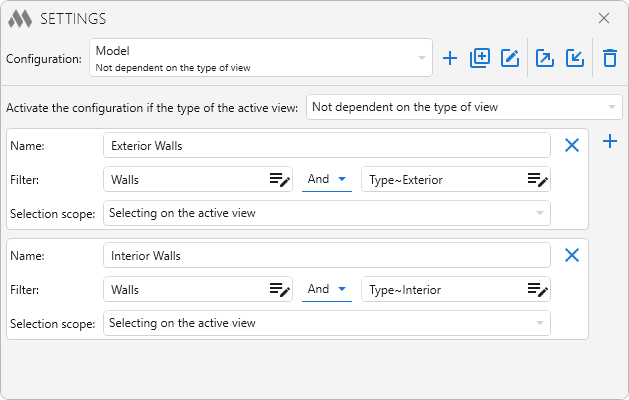
After the configurations have been set up, the drop-down list in the plugin window displays the name of the active configuration.
The plugin allows you to perform the following actions, available from the drop-down list:
- Select – selects elements matching the filter settings on the active view or in the entire model.
- Select from selection – selects elements matching the filter settings only among the preselected objects on the active view or in the model.
- Add to current selection – adds elements matching the filter settings to the currently selected elements.
- Exclude from current selection – excludes elements matching the filter settings from the current selection on the active view or in the model.
Below are paired buttons for the configuration filters. Clicking them selects elements according to the filter parameters:
- the left button (highlighted in blue when hovered over) selects elements on the active view,
- the right button (highlighted in pink) selects elements in the entire document.
Each button displays the filter name or the filter conditions if no name is specified.
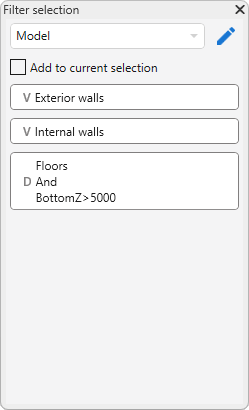
In palette mode, the plugin window can be docked in the Revit interface and used for quick element selection without restarting the plugin.
Due to a Revit issue, elements selected using the palette are not passed to some Revit commands, such as "Copy", "Move", and "Rotate". To pass the selected elements to such a command, after making the selection, click the middle mouse button in the project area and only then run the command.


